
I am on my own little cake pop journey! Recently, I entered the world of cupcake pops, which upon my first attempt failed miserably. However, with the help of My Little Cupcake's Cake Pop Mold, (don't kill me Bakerella!) I have finally mastered how to make a "cupcake" pop!

I stumbled upon Jeanette's blog by fluke one day when I was searching images online. All of my searching led me to her website with the cutest step by step video of her daughters demonstrating how to make "No Bake Cupcake Pops" using the mold their mom created.
This post doesn't follow their suggested no bake recipe using crumbled Oreo cookies and cream cheese to form the balls, but it is a definite must for another post! For these cake pops, I used vanilla cake with vanilla frosting. For a basic cake pop tutorial, click here.

Here is what the mold looks like when it is open. Unfortunately, this product is not carried in Toronto, but my mother in law picked one up for me at a bakery in Montreal called Cho'cola.

I was very excited to use my new mold! The steps were pretty simple.

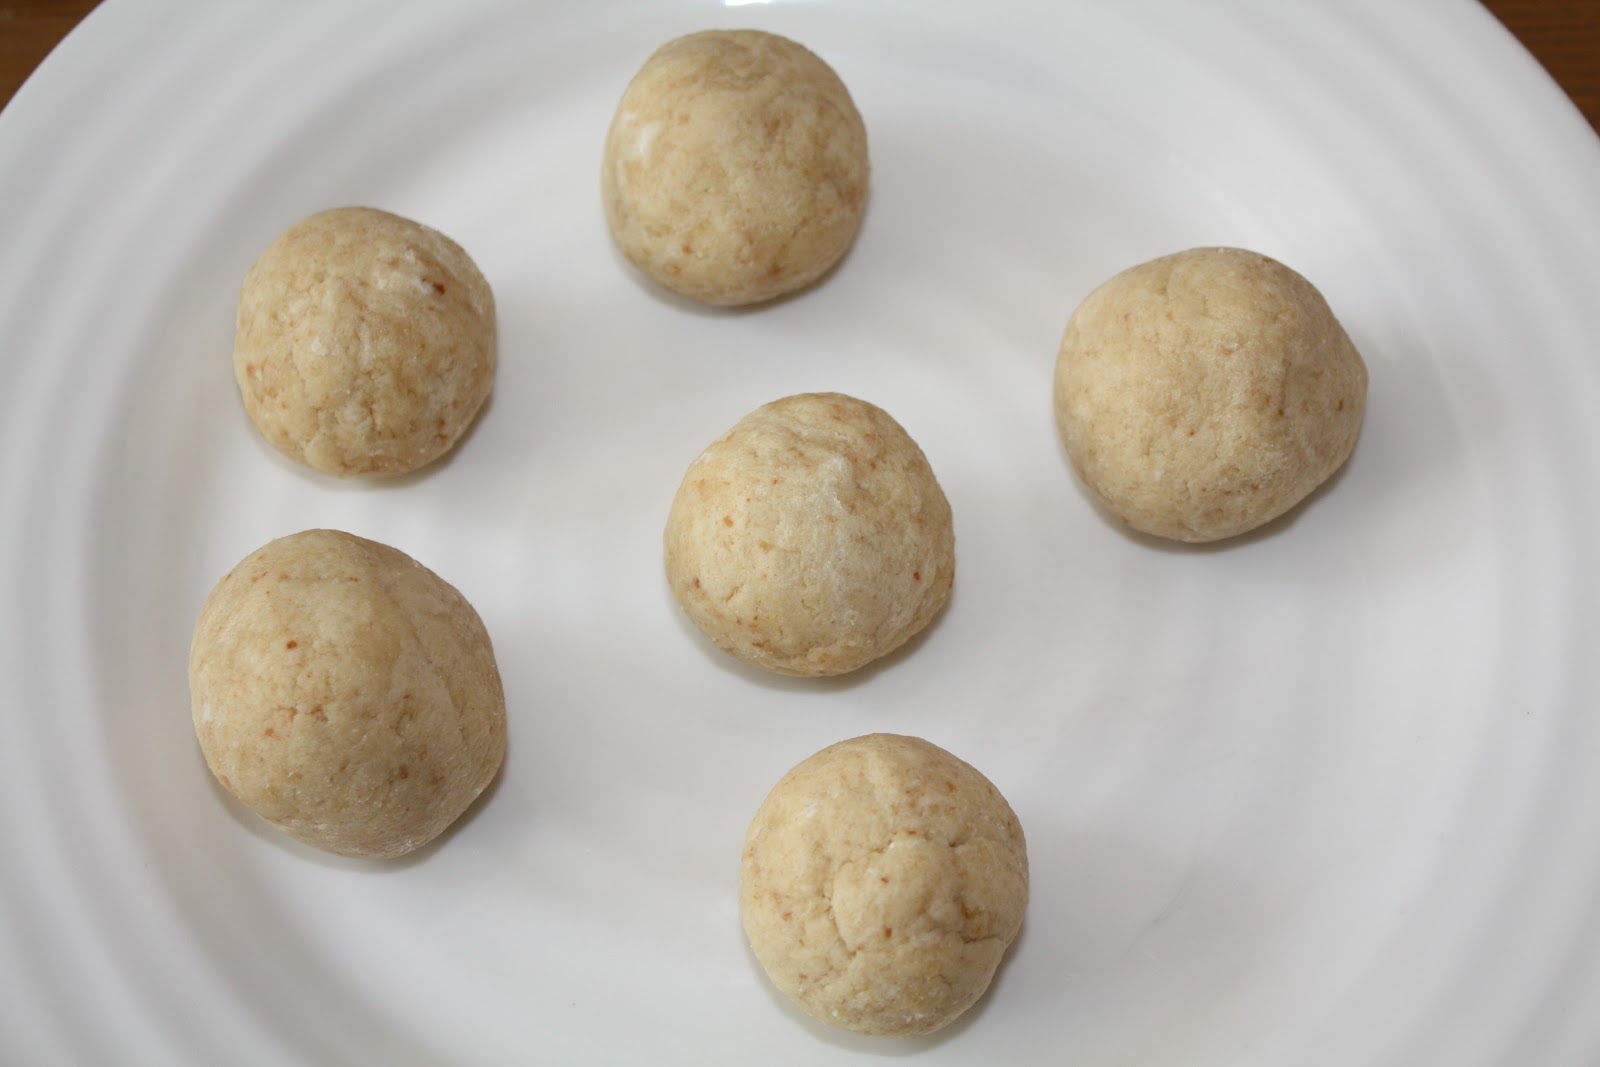
This is what the cupcakes looked like before they were dipped and made into cupcake pops.
Here's how I did it!

Making cupcake pops is a two part process. First, dip the bottom of the cupcake in a chosen color of melted candy coating.

Once the extra coating has dripped off, dip 1/4 inch of the stick into the melted coating. Then, insert the stick no more than half way into the bottom half of the cupcake.
A plastic egg carton is a helpful item used to place all of the dipped pops, before dipping the top part of the cupcake.

Next, melt a different coloured candy coating, (I used blue candy melts )
)
and dip the top part of the cupcake into it. Tap off excess coating.

Add decorations immediately. I used a Smartie for the cherry and Cake Mate Rainbow Decors for the sprinkles. The wet candy coating allows for all of the sprinkles to stick to the cupcake pop. The reason why I had the big white bowl under the cupcake pop was so that all of the extra sprinkles would fall into the bowl and I could reuse them afterward.

Ta Da!

Aren't they cute?

I think so.

Hope you do to.

Package and give away!

so exciting! I just bought one of these too. It came in the mail but I haven't tried it out yet. I'm thinking oreo truffles, but it makes so many that I don't know what I will do with all the extras!
ReplyDeleteokay, that looks so yummy!!! I love the step by step, thanks Mel Can't wait to try one day.
ReplyDeleteThose are gorgeous and the photos are amazing! You must submit this to Tastespotting and/or Foodgawker!
ReplyDeleteYou did an amazing job and I love the blog. The pictures are awesome!!!
ReplyDeleteI love these!!! And I'm totally getting that mold. Thanks for the step-by-step with pictures!!
ReplyDeletexo - Marie
Chocolate & Wine
Oh my GOODNESS! Those are sooooooooooo adorable. I love them. I am dying to get my hands on that mould. I loved these when I saw them on Bakerella's site but I was also wondering how I'd be able to get the shape properly..
ReplyDeleteOmgosh. those are sooo cute! I could eat them all up right now! Love the mold so much I need that mold! Do you know of any way I could get one like that? I've tried searching a bunch of places but no luck. :(
ReplyDeleteHi Kelsey,
ReplyDeleteApparently they are now shipping to Canada!!! Check out the link to Jeanette's website (above) and try to order from there.
Good luck,
Melissa :)